For most of us, a day of shooting will yield 3, maybe 4, stellar images. (And this may be high!). Despite our best efforts, 90% of the the light will not be quite right and so we’re left with a photo with a good subject, good composition, a good story, but little drama or wow factor.
These images though can be saved using overlay layers and textures. Textures have been around for a long time, even back in the darkroom days, we used texture negs and "dupes" to achieve new and novel ways to finish our photographs. Now with digital photos and image editing software like Photoshop, we can salvage many images that normally would be deleted. Overlays and fine art textures, combined with a few other techniques can transform a plain image into a painterly fine art photograph. Once you get to know what types of textures work well, and which colour tones enhance nature images, you can become very adept at creating artistic photos.
Keep in mind though that the type of textures I’m referring to are not simply photos of brick walls, rusty dumpsters, or the types of textures you can downlolad for free on so many websites these days. These are special textures (some specifically created for nature and landscape photographers) that take the rule of thirds into account, as well as the range of shades and tones common in nature photography.
Watch for Part 2 of Overlays and Textures along with some free samples for you to use on your own images.
Check out the before and after here.
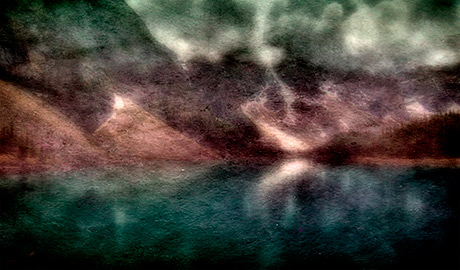
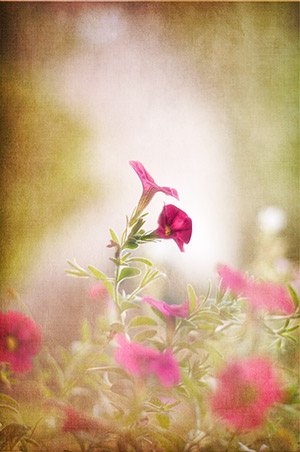
Here are a few of my recent examples (after).


Leave a Reply
You must be logged in to post a comment.